How To Install Java 11 On Ubuntu
It explains how to install Java 11 distributed by Oracle on Ubuntu 18.04 (Bionic Beaver). The steps should be similar to install other versions of Java, Ubuntu, and Linux distributions.
In the previous post, we have discussed how to install Java 10 on Ubuntu. We will continue with the same and install Java 11 on Ubuntu 18.04 LTS (Bionic Beaver) in this post. The steps should be the same for other versions of Ubuntu, and Linux.
Step 1 Download JDK
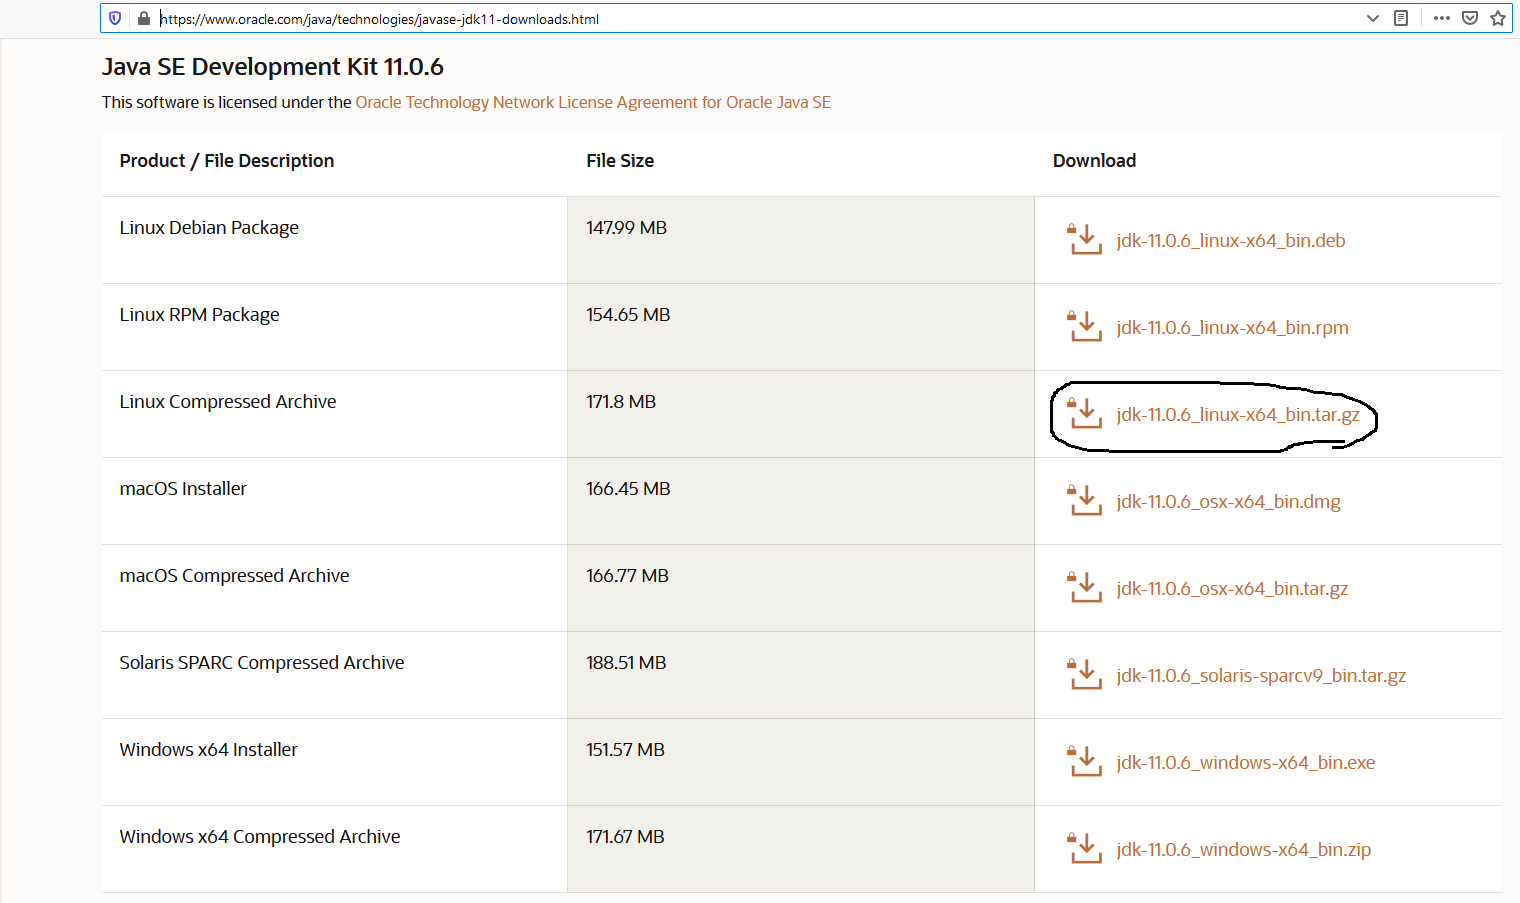
Open the browser and search for Download JDK 11 or click here to view the download options. It will show the JDK download page as shown in Fig. 1.

Fig. 1
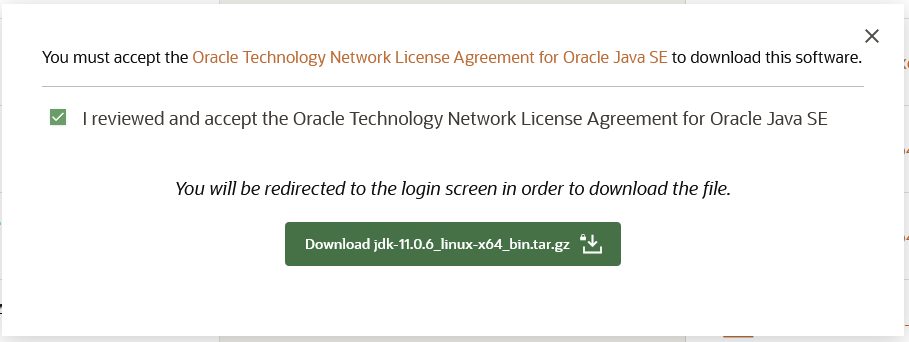
Now click on download option as highlighted in Fig 1. Accept License Agreement and click on the download link having the tar.gz extension. A confirmation dialog will be displayed to start the download as shown in Fig.2 and Fig. 3.

Fig. 2

Fig. 3
We can also download the JDK on terminal using the command as mentioned below:
>sudo wget -c --header "Cookie: oraclelicense=accept-securebackup-cookie" http://download.oracle.com/otn-pub/java/jdk/11+28/55eed80b163941c8885ad9298e6d786a/jdk-11_linux-x64_bin.tar.gz
Step 2 Install Java
Open the terminal and make directory /usr/java ot done yet to keep java installations. We can install multiple versions of Java in this directory. Now copy the downloaded file to this location and extract it as shown below:
>sudo mkdir -p /usr/java >cd /usr/java >sudo cpjdk-11_linux-x64_bin.tar.gz >sudo tar -xzvf jdk-11_linux-x64_bin.tar.gz
The above steps will install JDK to the path /usr/java/jdk-11
Step 3 Set Environment Variables
>sudo nano /etc/profile
Scroll down by pressing Page Down button and add at the end of this file:
JAVA_HOME=/usr/java/jdk-11
PATH=$PATH:$HOME/bin:$JAVA_HOME/bin
export JAVA_HOME
export PATH
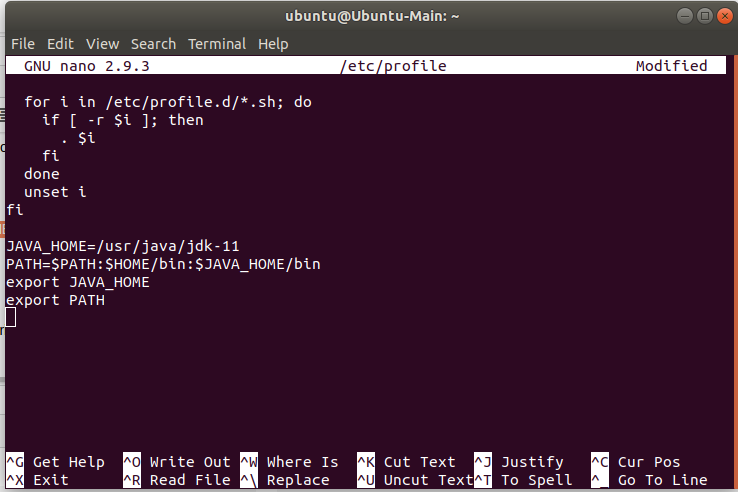
Now press Ctrl + O and press Enter to write our change. Press Ctrl + X to exit the nano editor. The nano editor should look like the one shown in Fig. 4.

Fig. 4
Step 4 Configure Java Commands
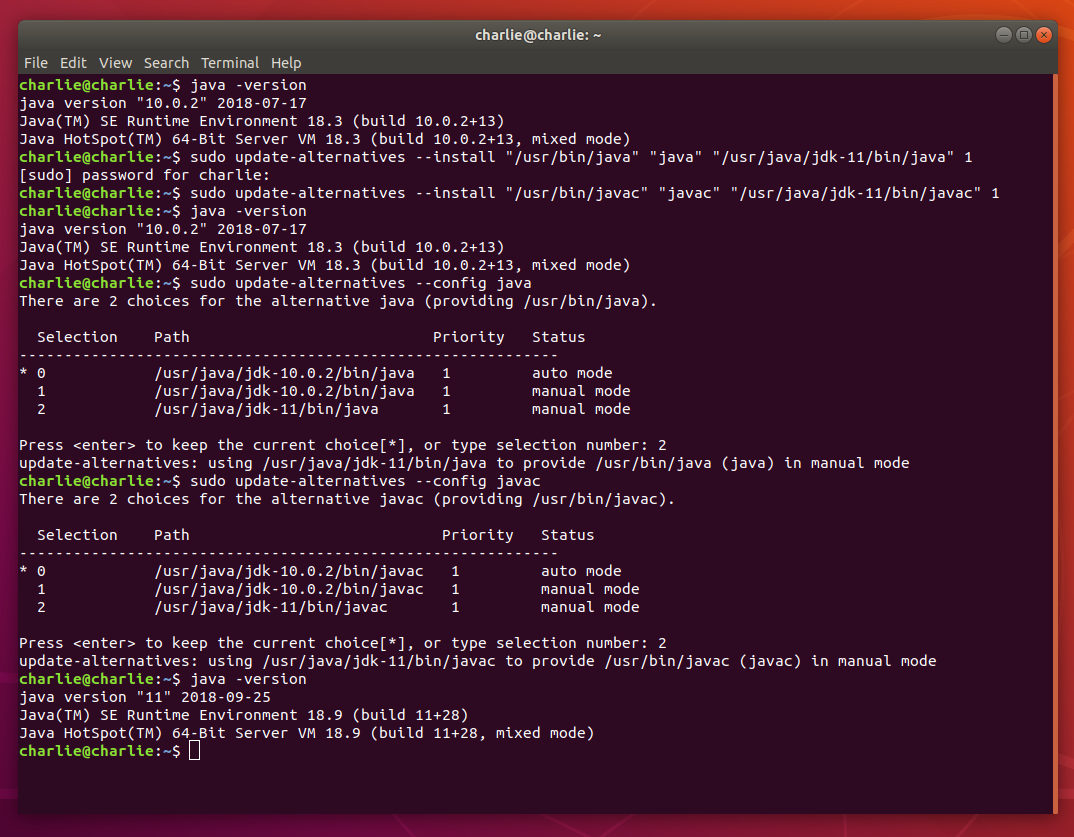
Now we need to configure Java commands to newly installed JDK. We can check the installed Java before and after executing these commands as shown below:
>java -version
>sudo update-alternatives --install "/usr/bin/java" "java" "/usr/java/jdk-11/bin/java" 1
>sudo update-alternatives --install "/usr/bin/javac" "javac" "/usr/java/jdk-11/bin/javac" 1
>java -version
The output of these commands is displayed on Fig. 5. We might need to configure active Java if it is previously installed on the system as shown in Fig. 5.

Fig. 5
Summary
This is how we can install Java distribution from Oracle on Ubuntu 18.04 (Bionic Beaver).


